|
|
|
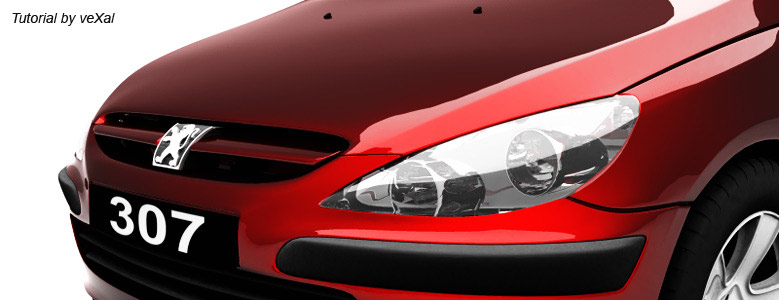
I just finished my
project of Peugeot 307, I saw many tutorials of car rendering, but very few
with the combination of mental ray and 3ds max. So I decided to make
one :) |
|
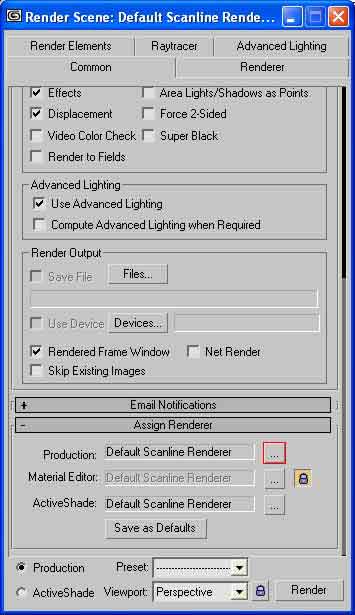
1)Start 3ds max, first thing we need is to change the default renderer of max, open the Rendering dialogue box. |
|
|
|
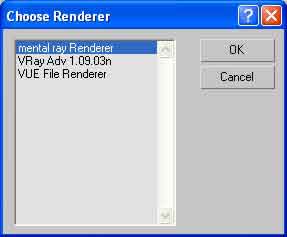
2)From "Choose Renderer" Dialogue box choose Mental Ray, and click ok. |
|
|
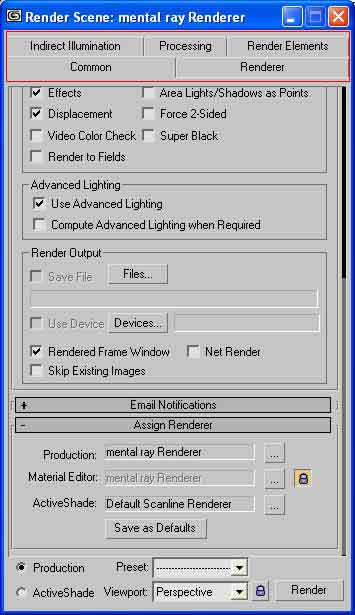
| 3)The Rendering dialogue box will change with the addition of more and different options. |
|
|
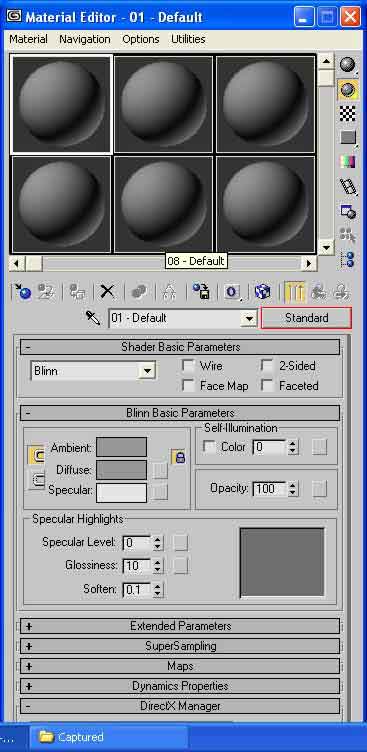
| 4)Now its time to make "Car Paint" material. Open the Material Editor, and click the "Standard" Button. |
|
|
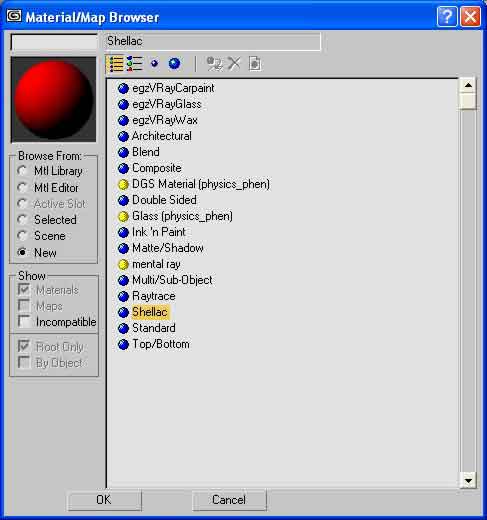
| 5)From "Material Map/Browser" Select "Shellac", and click ok. |
|
|
| 6)Discard the Old Material. |
|
|
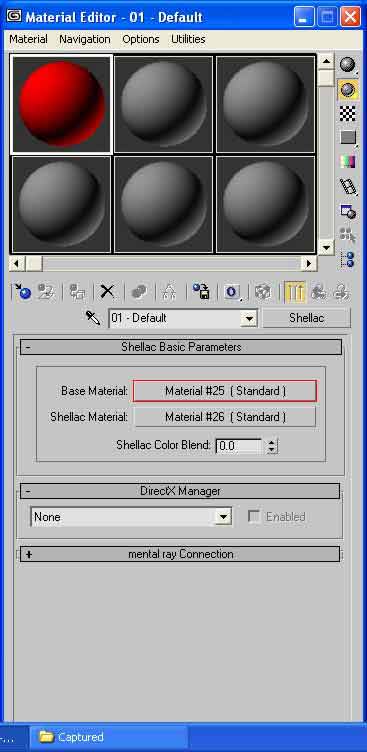
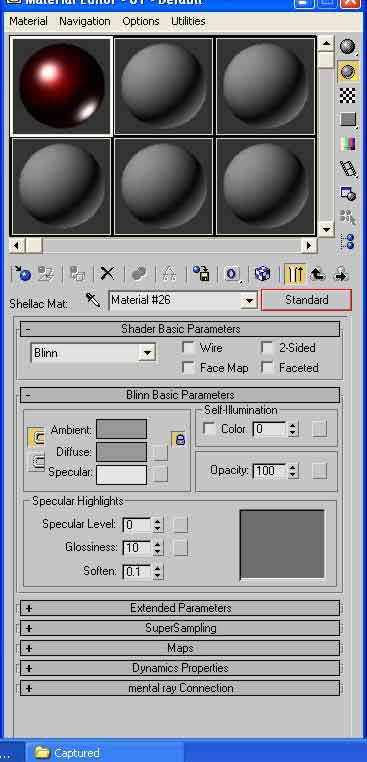
| 7)After these steps the material editor will look like this, Click the Base material to open its editing options. |
|
|
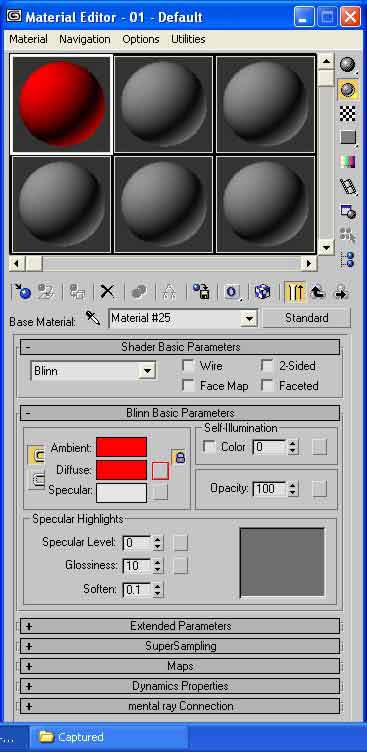
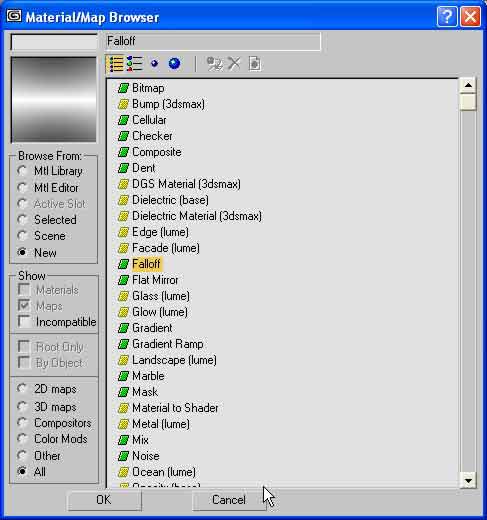
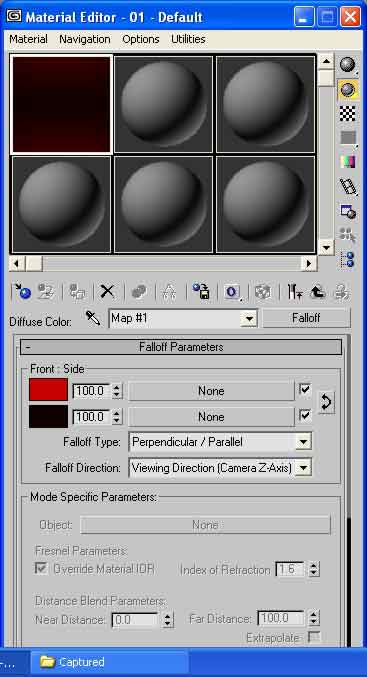
| 8)Click the diffuse map slot, and select "falloff" from Material/map browser. |
|
|
|
9)Change the black and white colors to the
colors shown in the picture below. Top Color is R=200,G=0,B=0 and bottom Color is R=16,G=0,B=0. |
|
|
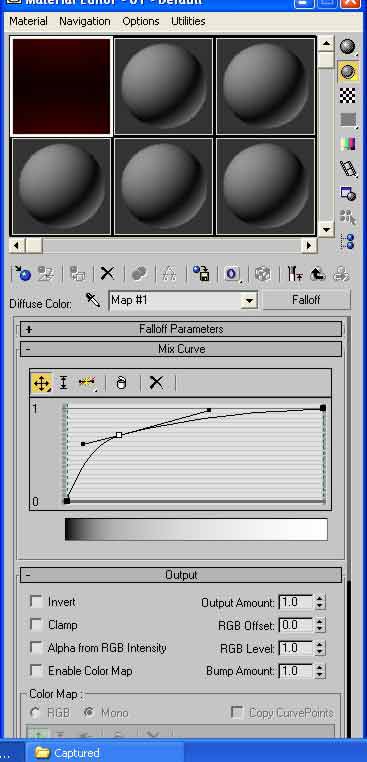
| 10)Now modify the Curve in Mix curve option, as shown in the figure. |
|
|
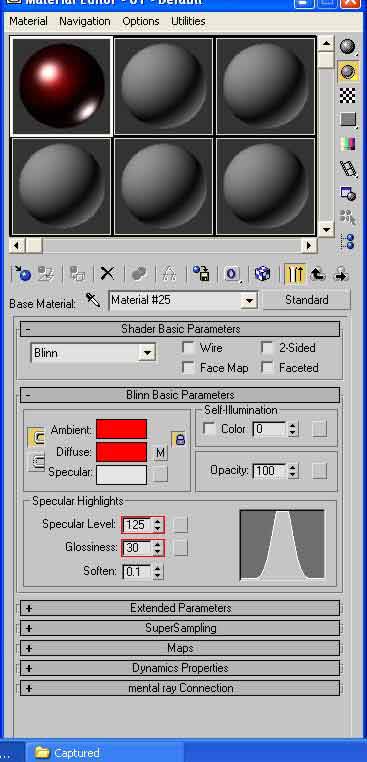
| 11)Click go to parent button and set the Specular level and Glossiness values as shown in the figure. |
|
|
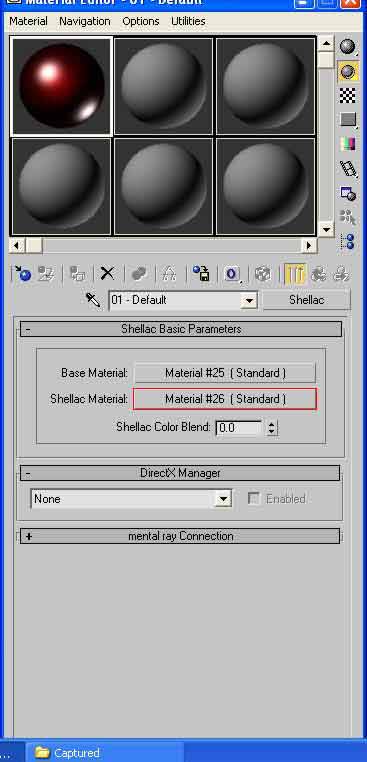
| 12)Click go to parent button once more and then click the shellac material slot. |
|
|
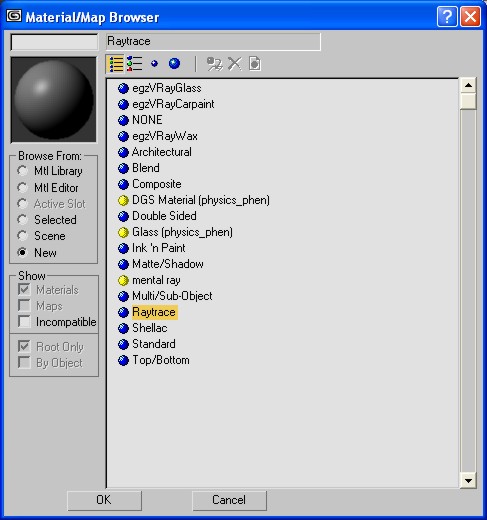
| 13)Click on the standard material option, and choose Raytrace as new material. |
|
|
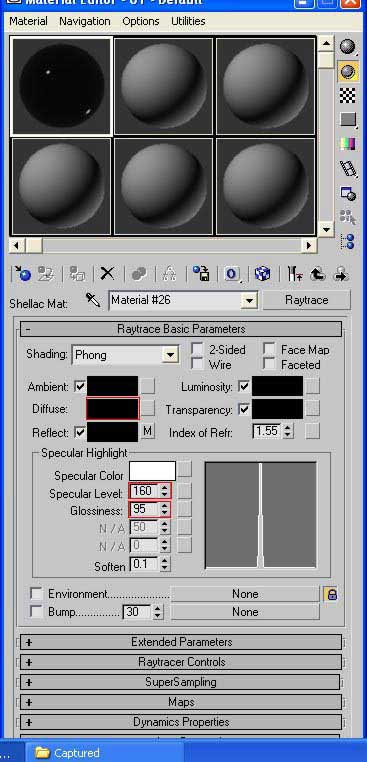
| 14)Again click the reflect map slot and select Falloff from material/ map browser. This time we will use "Fresnel" options instead of default "Towards/Away", also change the Index of refraction option to 2.5. |
|
|
| 15)Click go to parent change the diffuse color to black, and also change other values as shown. |
|
|
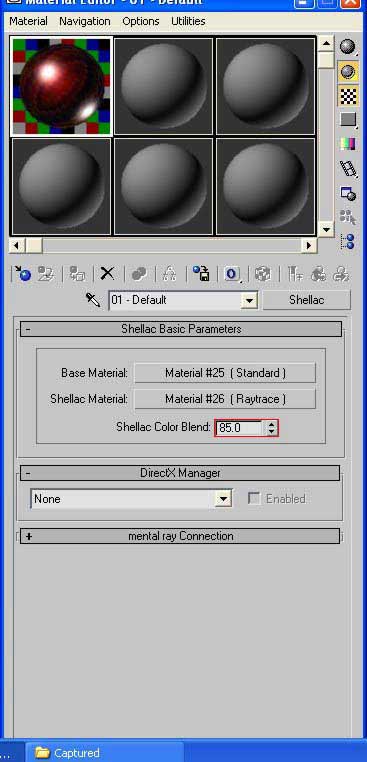
| 16)Click go to parent once more and change the Shellac color blend value to 85. |
|
|