|
|
|
Now its time to finally set our scene with light and Car |
|
|
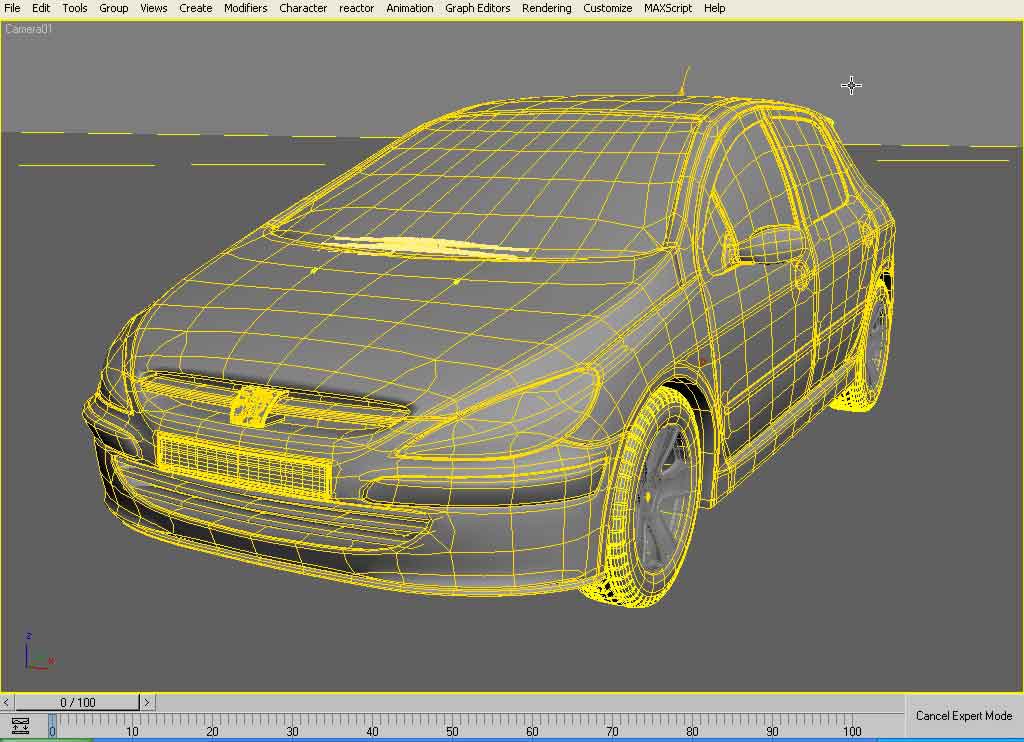
17)Apply the Material to the body of car. |
|
|
|
|
|
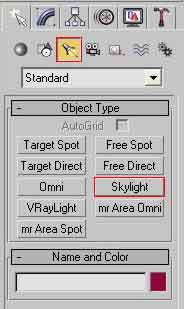
18)Select the Skylight by click the light and then Skylight button. |
|
|
|
|
| 19)Create sky light on the scene and set its multiplier value to 1.5. | |
|
|
|
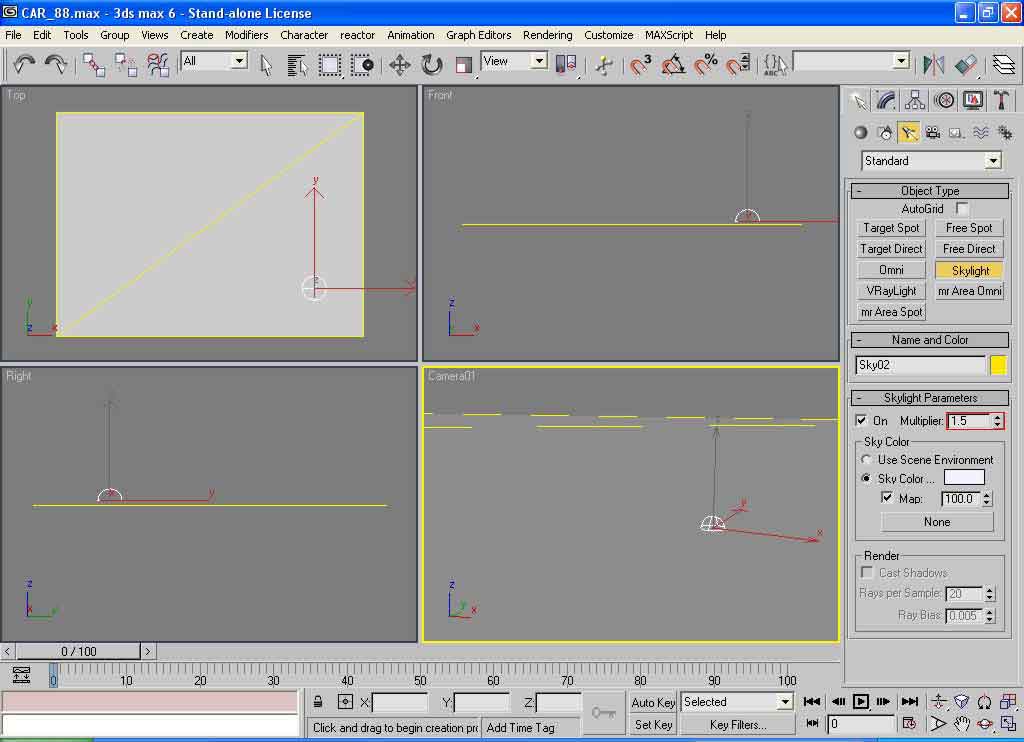
| 20)Creat a plane over the car, as show in the fig, just for reflections. | |
|
|
|
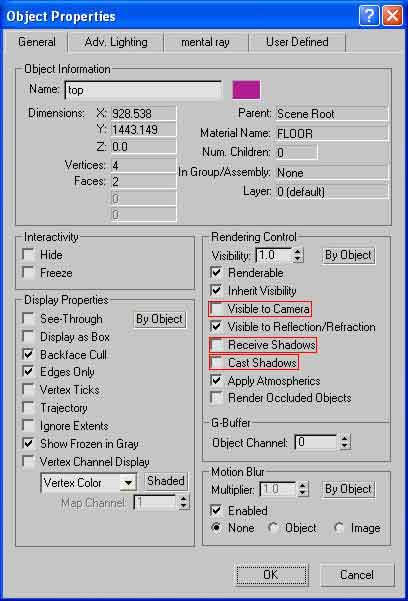
| 21)Right click the plane over the Car and select its properties, Uncheck the boxes shown in the fig. | |
|
|
|
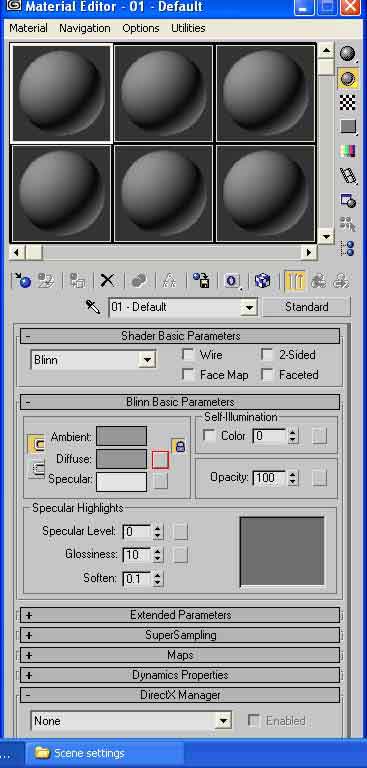
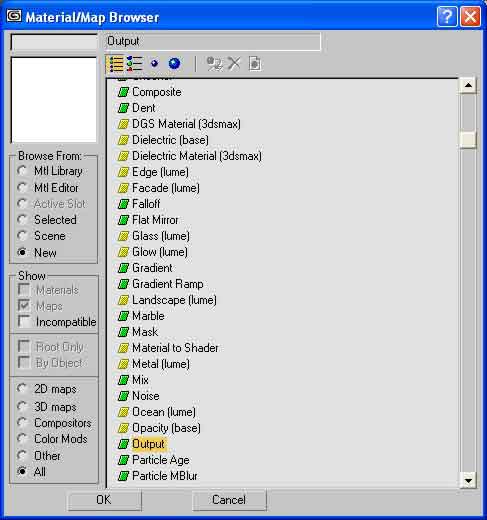
| 22)Now its time to make the material for the plane above the car, Select the diffuse map slot and select Output from the Material/Map Browser. | |
|
|
|
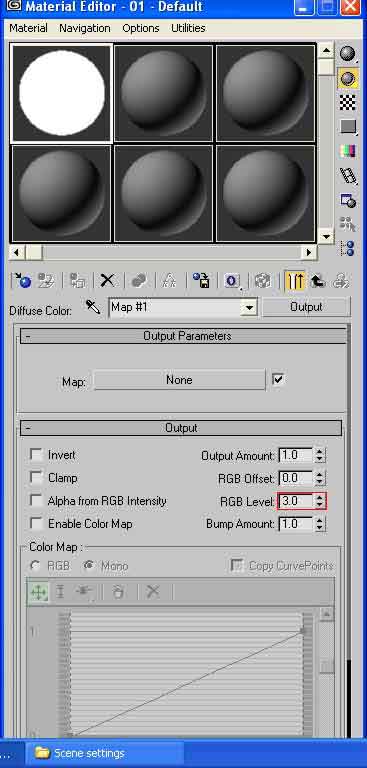
| 23)Change the RBG level value to 3.0. | |
|
|
|
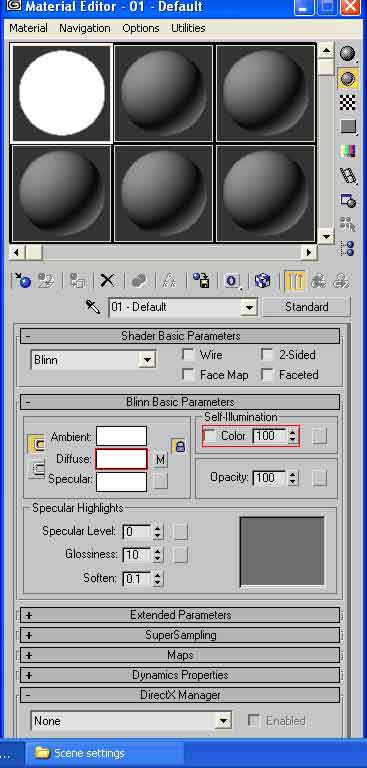
| 24)Click go to parent and Change the diffuse color to pure white and self illumination to 100 | |
|
|
|
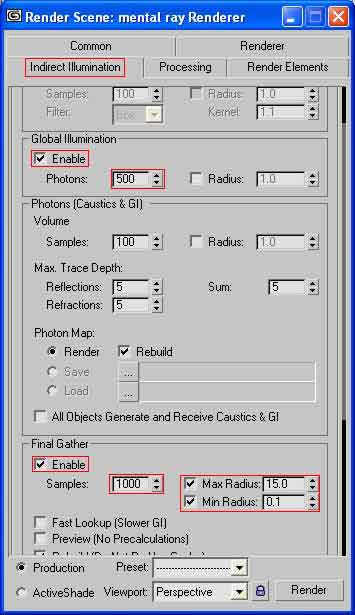
| 25)Open Render Scene Dialogue box and change the settings as shown in the fig. | |
|
|
|
|
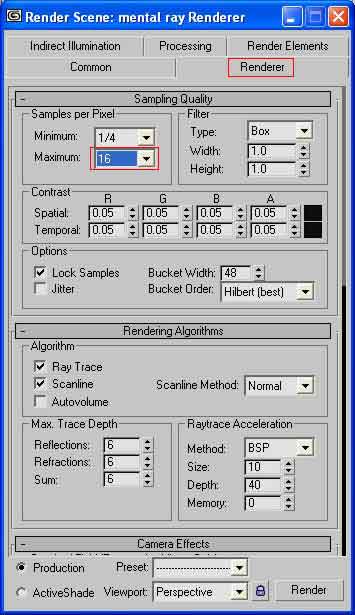
26)These r the settings that I used to render the Peugeot 307, U can change settings to adjust Your taste or requirements. |
|
|
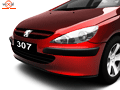
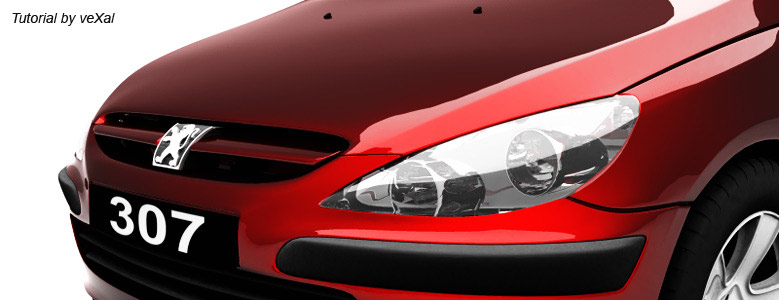
//Here r few rendered images// |
|
|
|
|
|
//Tutorial By veXal// |
|